Homeschool Planning with a Bullet Journal - Part 2 (Getting Started)
5:23 AMبسم الله الرحمن الرحيم
Salaam!
Glad you came back! Last time, we spoke about bullet journaling - very briefly. If you missed that one read it here first and then come back. I'll be here....
Okay great! Let's continue...
Now I want to show you how I use the bullet journal planner for my homeschool planning.
I am a stationery geek and I love pen and paper. I love being able to write down everything just as much as I love using digital programs and apps. I also love being able to cross things off as I go along. Somehow it makes me feel more…. accomplished.
Now, I love binders but I personally find they are too bulky and hassle when I just need a quick overview of what I need to do. Planning in a regular notebook means I have all the information I need in one light-weight notebook, right where I need it making it super easy and quick for me to refer to during the day when I have to.

Don't get me wrong! I love the ease of printables and as soon as find what works best for me. I will most likely create a digital version of this, but for now this is an expensive way for me to figure out what works without wasting money or paper. How? Because I'm not stuck with a planner or a bunch of inserts that aren't really working for me.
Generally when it comes to planning it's all about trial and error and finding what works for you. I've tried digital recording and using a printed planner and it just wasn't doing it for me (as yet). So as a fairly new bullet journaler, I thought, "Why not apply the bullet journal method to my homeschool planner?" And so I did…
Getting Started
Starting up is very easy. All you need is a notebook, a pen, a pencil and a ruler - that's it.

If you'd like to take it up a notch, you can also get coloured pens to colour code and some page markers.

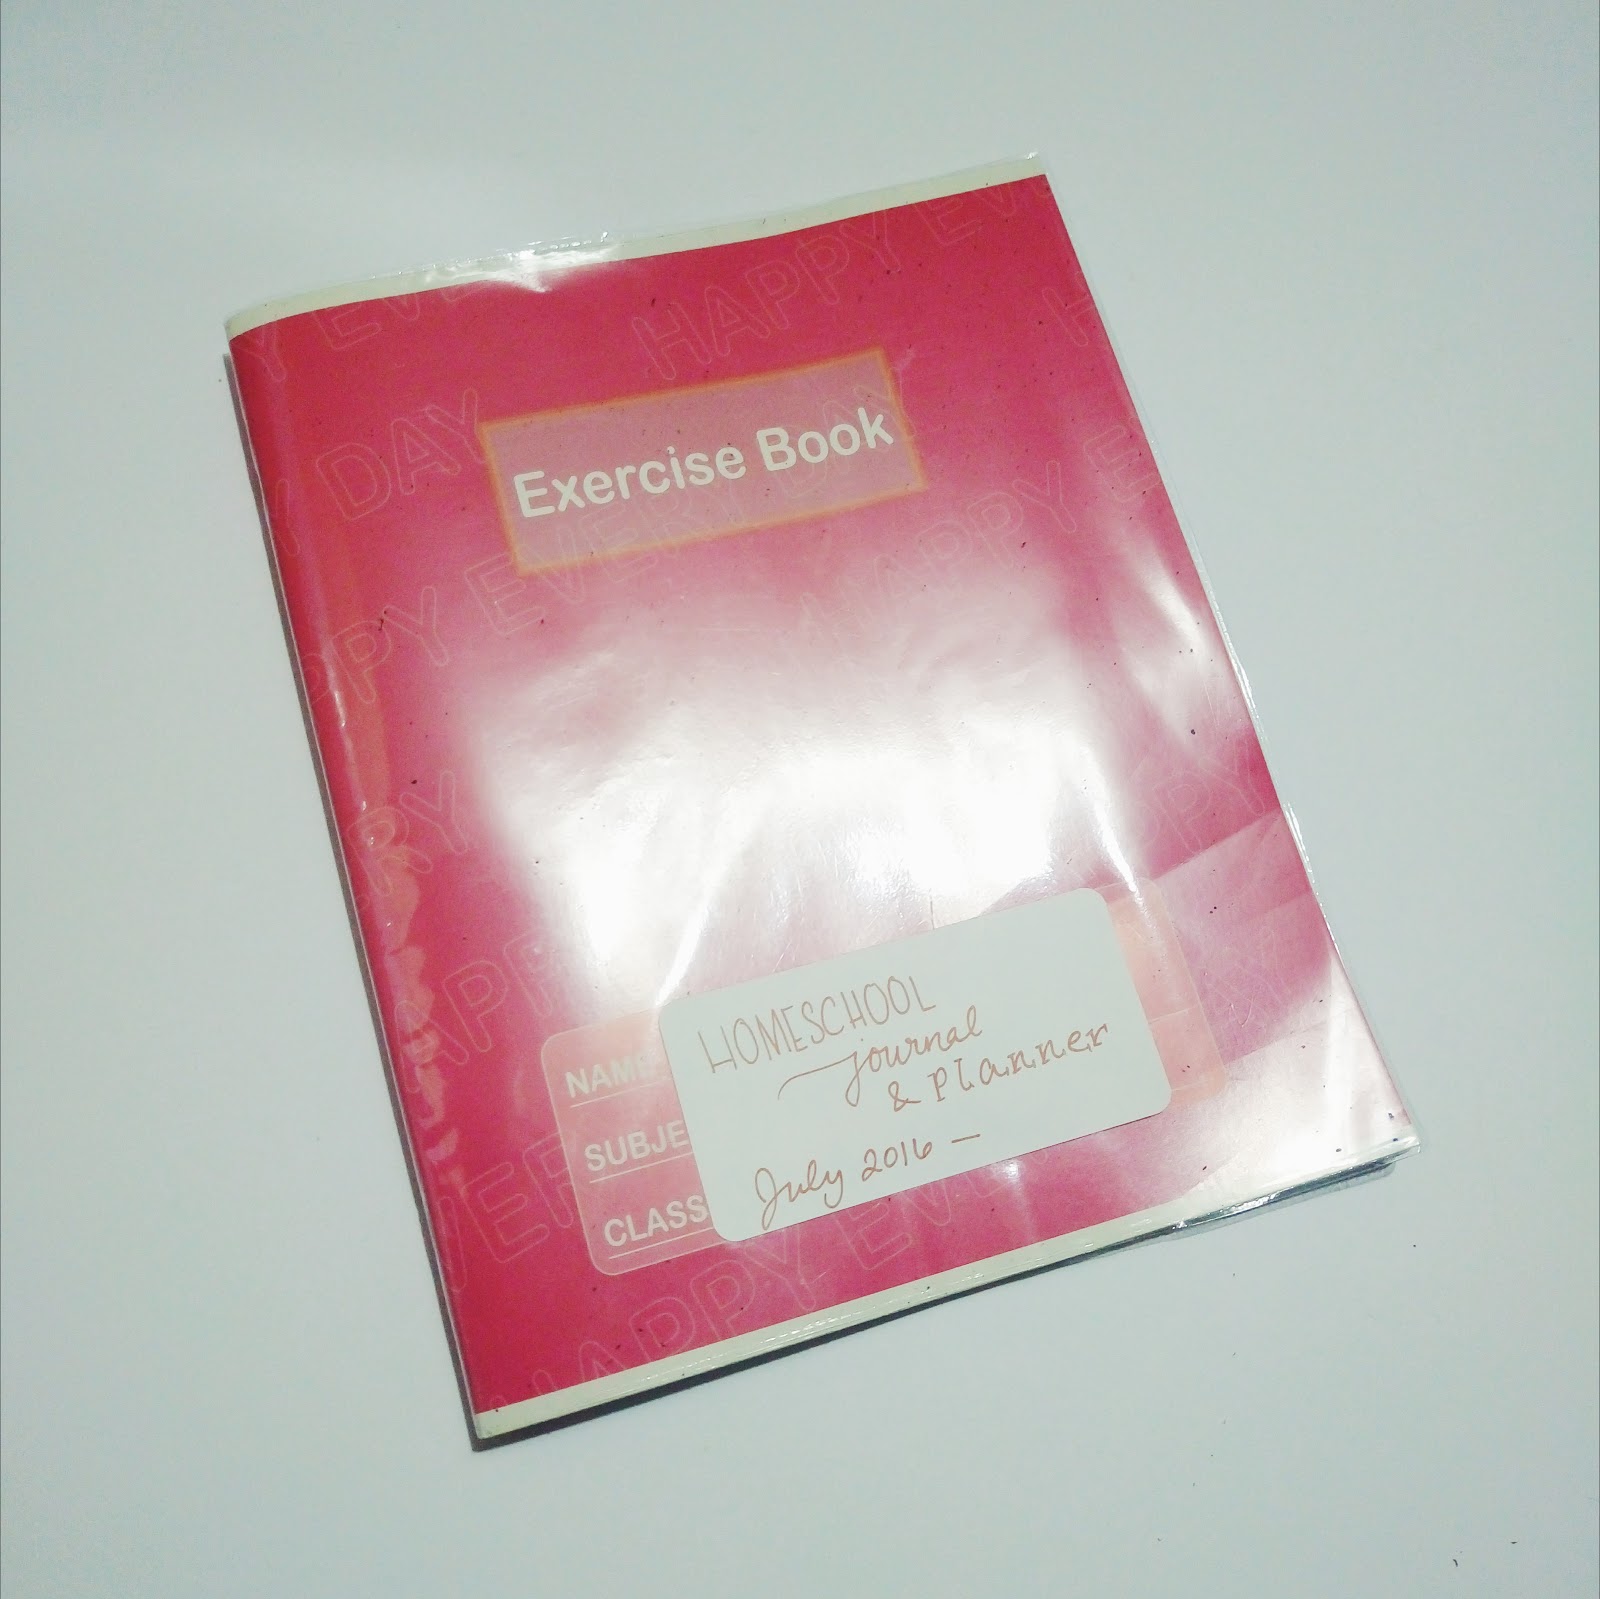
The first thing you'd notice about my homeschool bujo is that it's just a regular notebook. Nothing fancy. You don't have to invest in a super-pricey, cutsie notebook... unless you want to.
The next thing you'd need to do is leave the first few pages blank - at least 2 pages. These pages are for your index - where it all comes together. Hereyou will reference the contents of your notebook as well as the page numbers.

Yes, you will be numbering each page. You don't have to number the entire notebook at once in case you make a mistake somewhere along the lines or have to remove a page for any reason. I usually just number as a go along.
What To Include?
Basically, anything you wanna!
Just get out your notepad or grab a scrap piece of paper and jot down some of the things you want to include in your journal. Here are some ideas of some of things you may want to include:
• Yearly Calendar
• Monthly Calendar
• Important Dates, Appointments, Events and Vacation
• Subjects with Curriculum and Text Books
• Attendance record
• Timetable or Schedule
• Weekly/Daily Lesson Planner

Once you have everything you want in mind, you simply start to enter it into your notebook.
Tip: If you aren't ready to fill in these pages, just pencil in the page header and come back to it later in sha Allah. Remember to update your index regularly! This makes it super easy to find information.
Be Creative… or Not.
The objective here is to have an inexpensive, simple and easy planning system that doesn't take up a lot of time. If using stickers and embellishments and making your page festive is what you need to be productive, then by all means… Just figure out what works for you.
To be absolutely clear, I'm not telling you to leave your planning system if it already works for you. I'm simply giving you an alternative…..just in case it isn't.
If you'd like to see more, look out for my next post. I'll be showing you exactly how I put it all together and plan on a yearly, monthly and weekly basis.
Hopefully it will make more sense in sha Allah.
See you in the next one!


0 comments